Last week I had an exciting opportunity: implement a camera prototype using the Raspberry Pi.
It’s something that I always wanted to do since I never worked with Raspberry Pi and its components. This post will detail how I managed to finish the task, the struggles, solutions and what tools I used.
Components I used
- Camera module sensor with 5 MP;
- LCD 3.5 Touch TFT, 320×480;
- Raspberry Pi 3 B;
- 16GB MicroSD Card (class 10);
- 5V, 2A Power Supply.
Starting
I started searching for which operating system I would need. The community mostly uses Raspbian, which can be installed using NOOBS installer. The more reasonable choice is to go with the community, so I downloaded and copied the files into the MicroSD, plugged a monitor into the Raspberry Pi HDMI port and started the installation. From the time I started to the time the Desktop initialized, the process took approximately 30 minutes.
Right away I enabled SSH using the terminal command
raspi-config
to make things more manageable after the 3′ Screen Installation.
Installing the components on Raspberry Pi
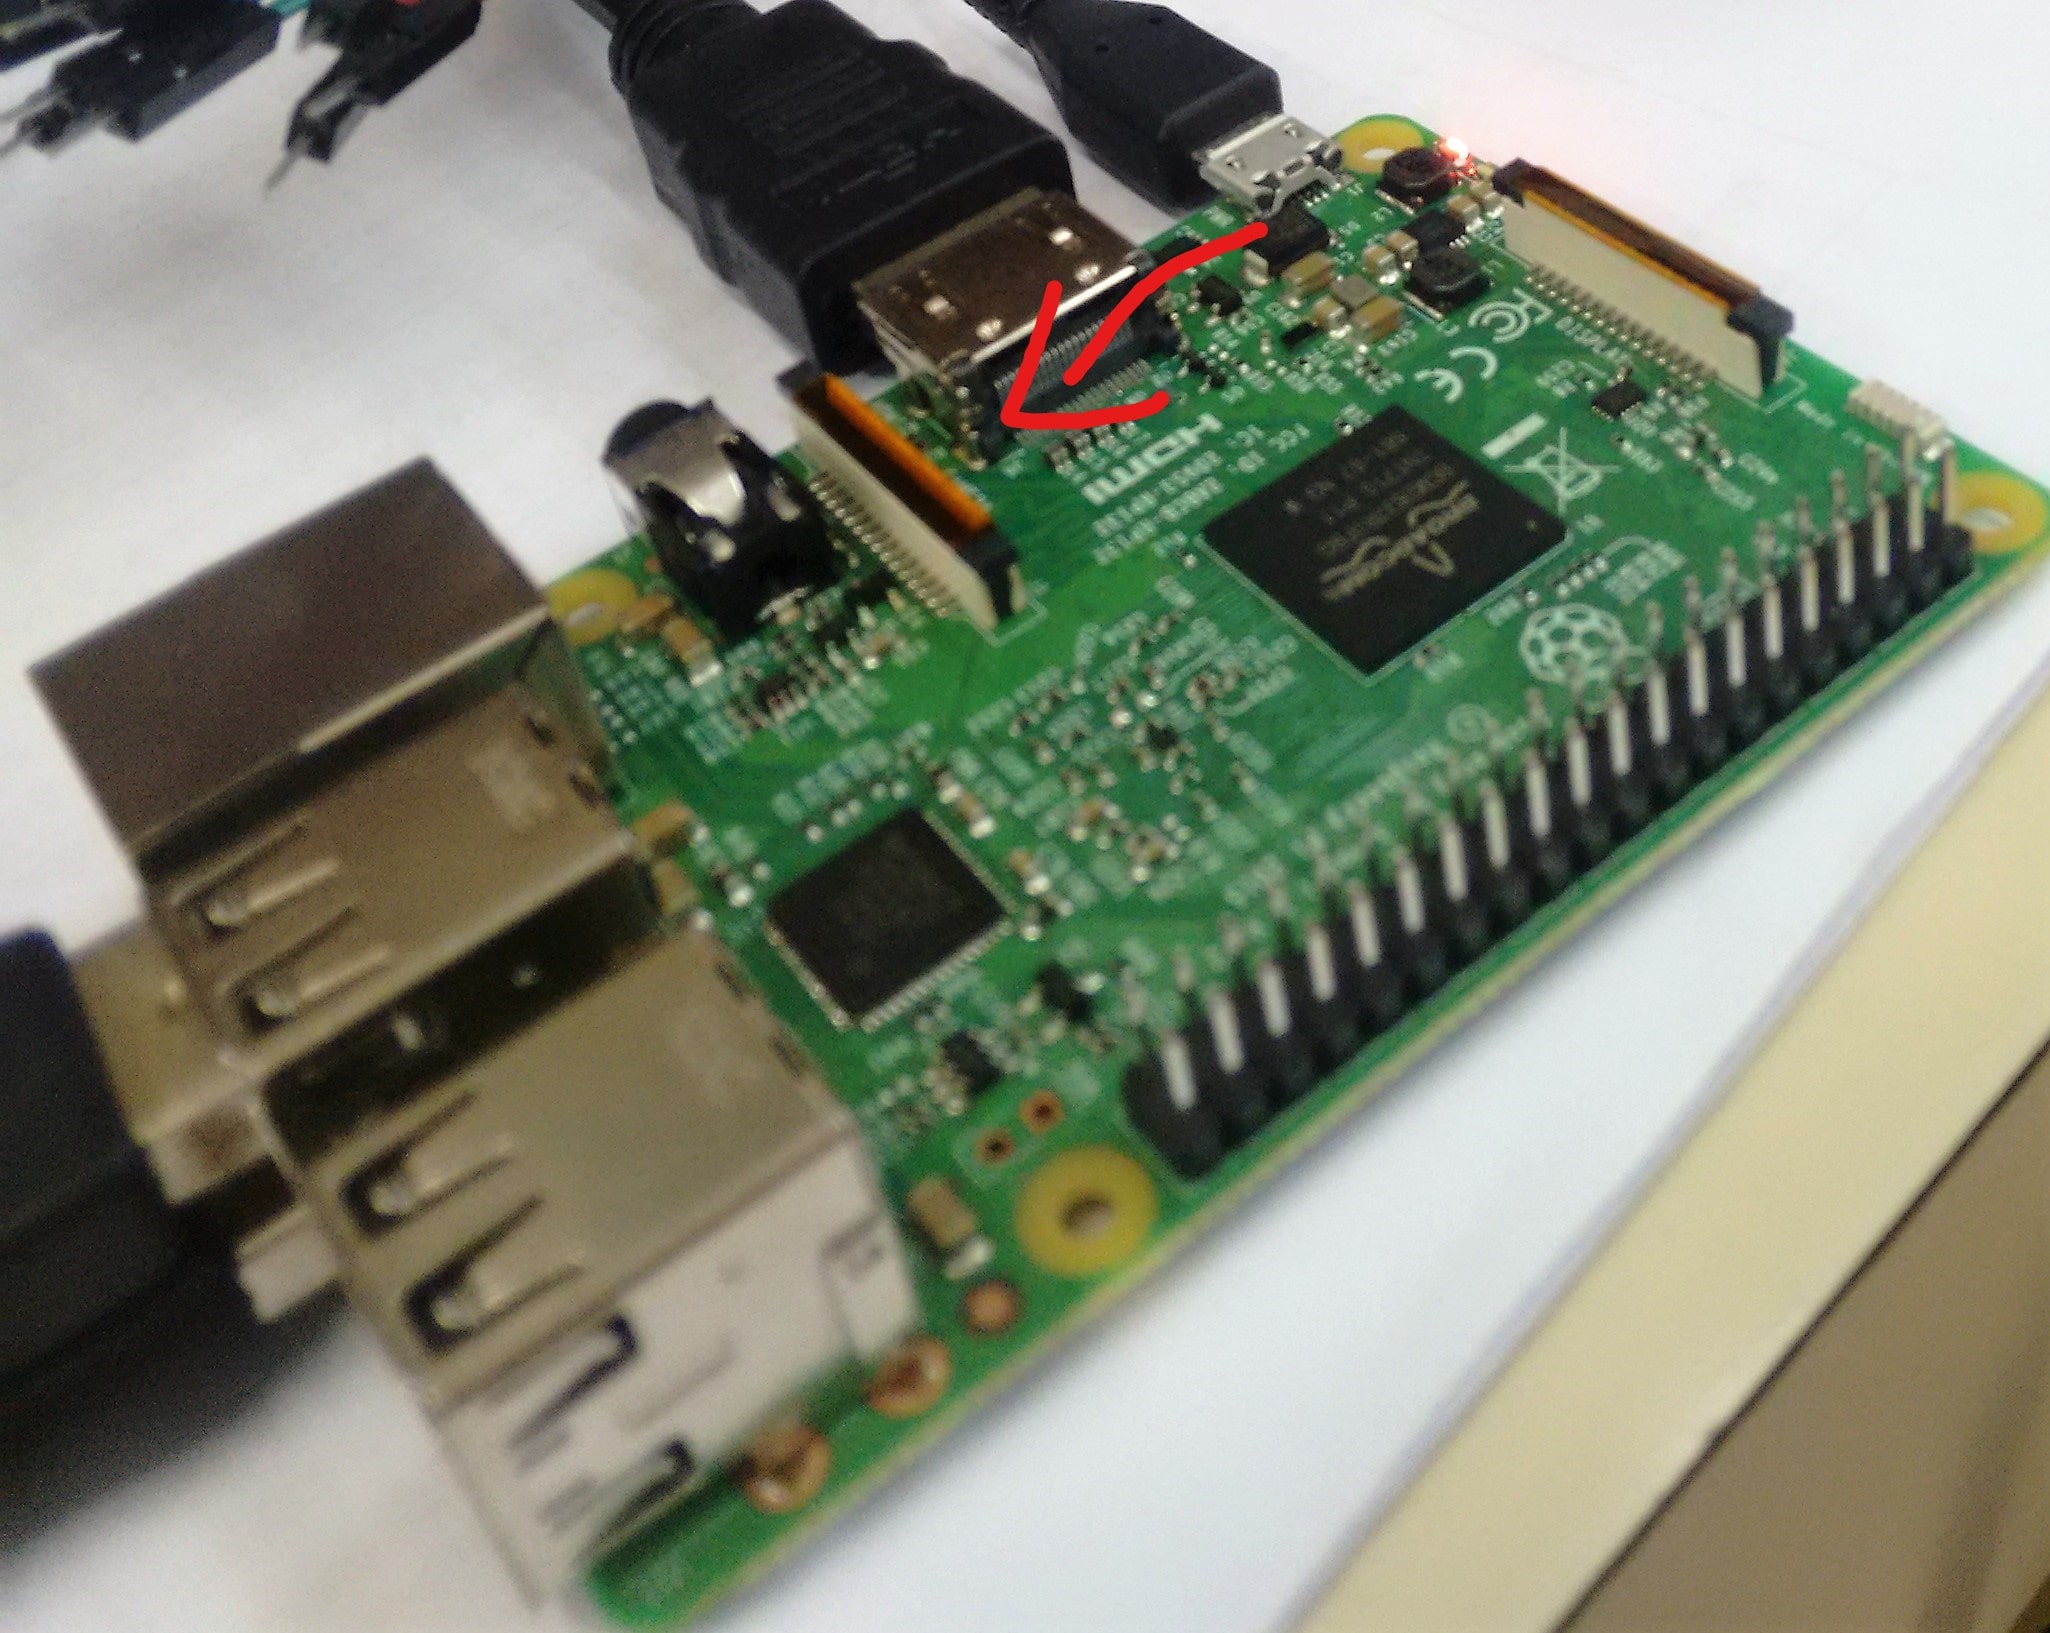
The LCD must be plugged into the onboard GPIO (general purpose input/output) pins, which are shown in Figure 1.

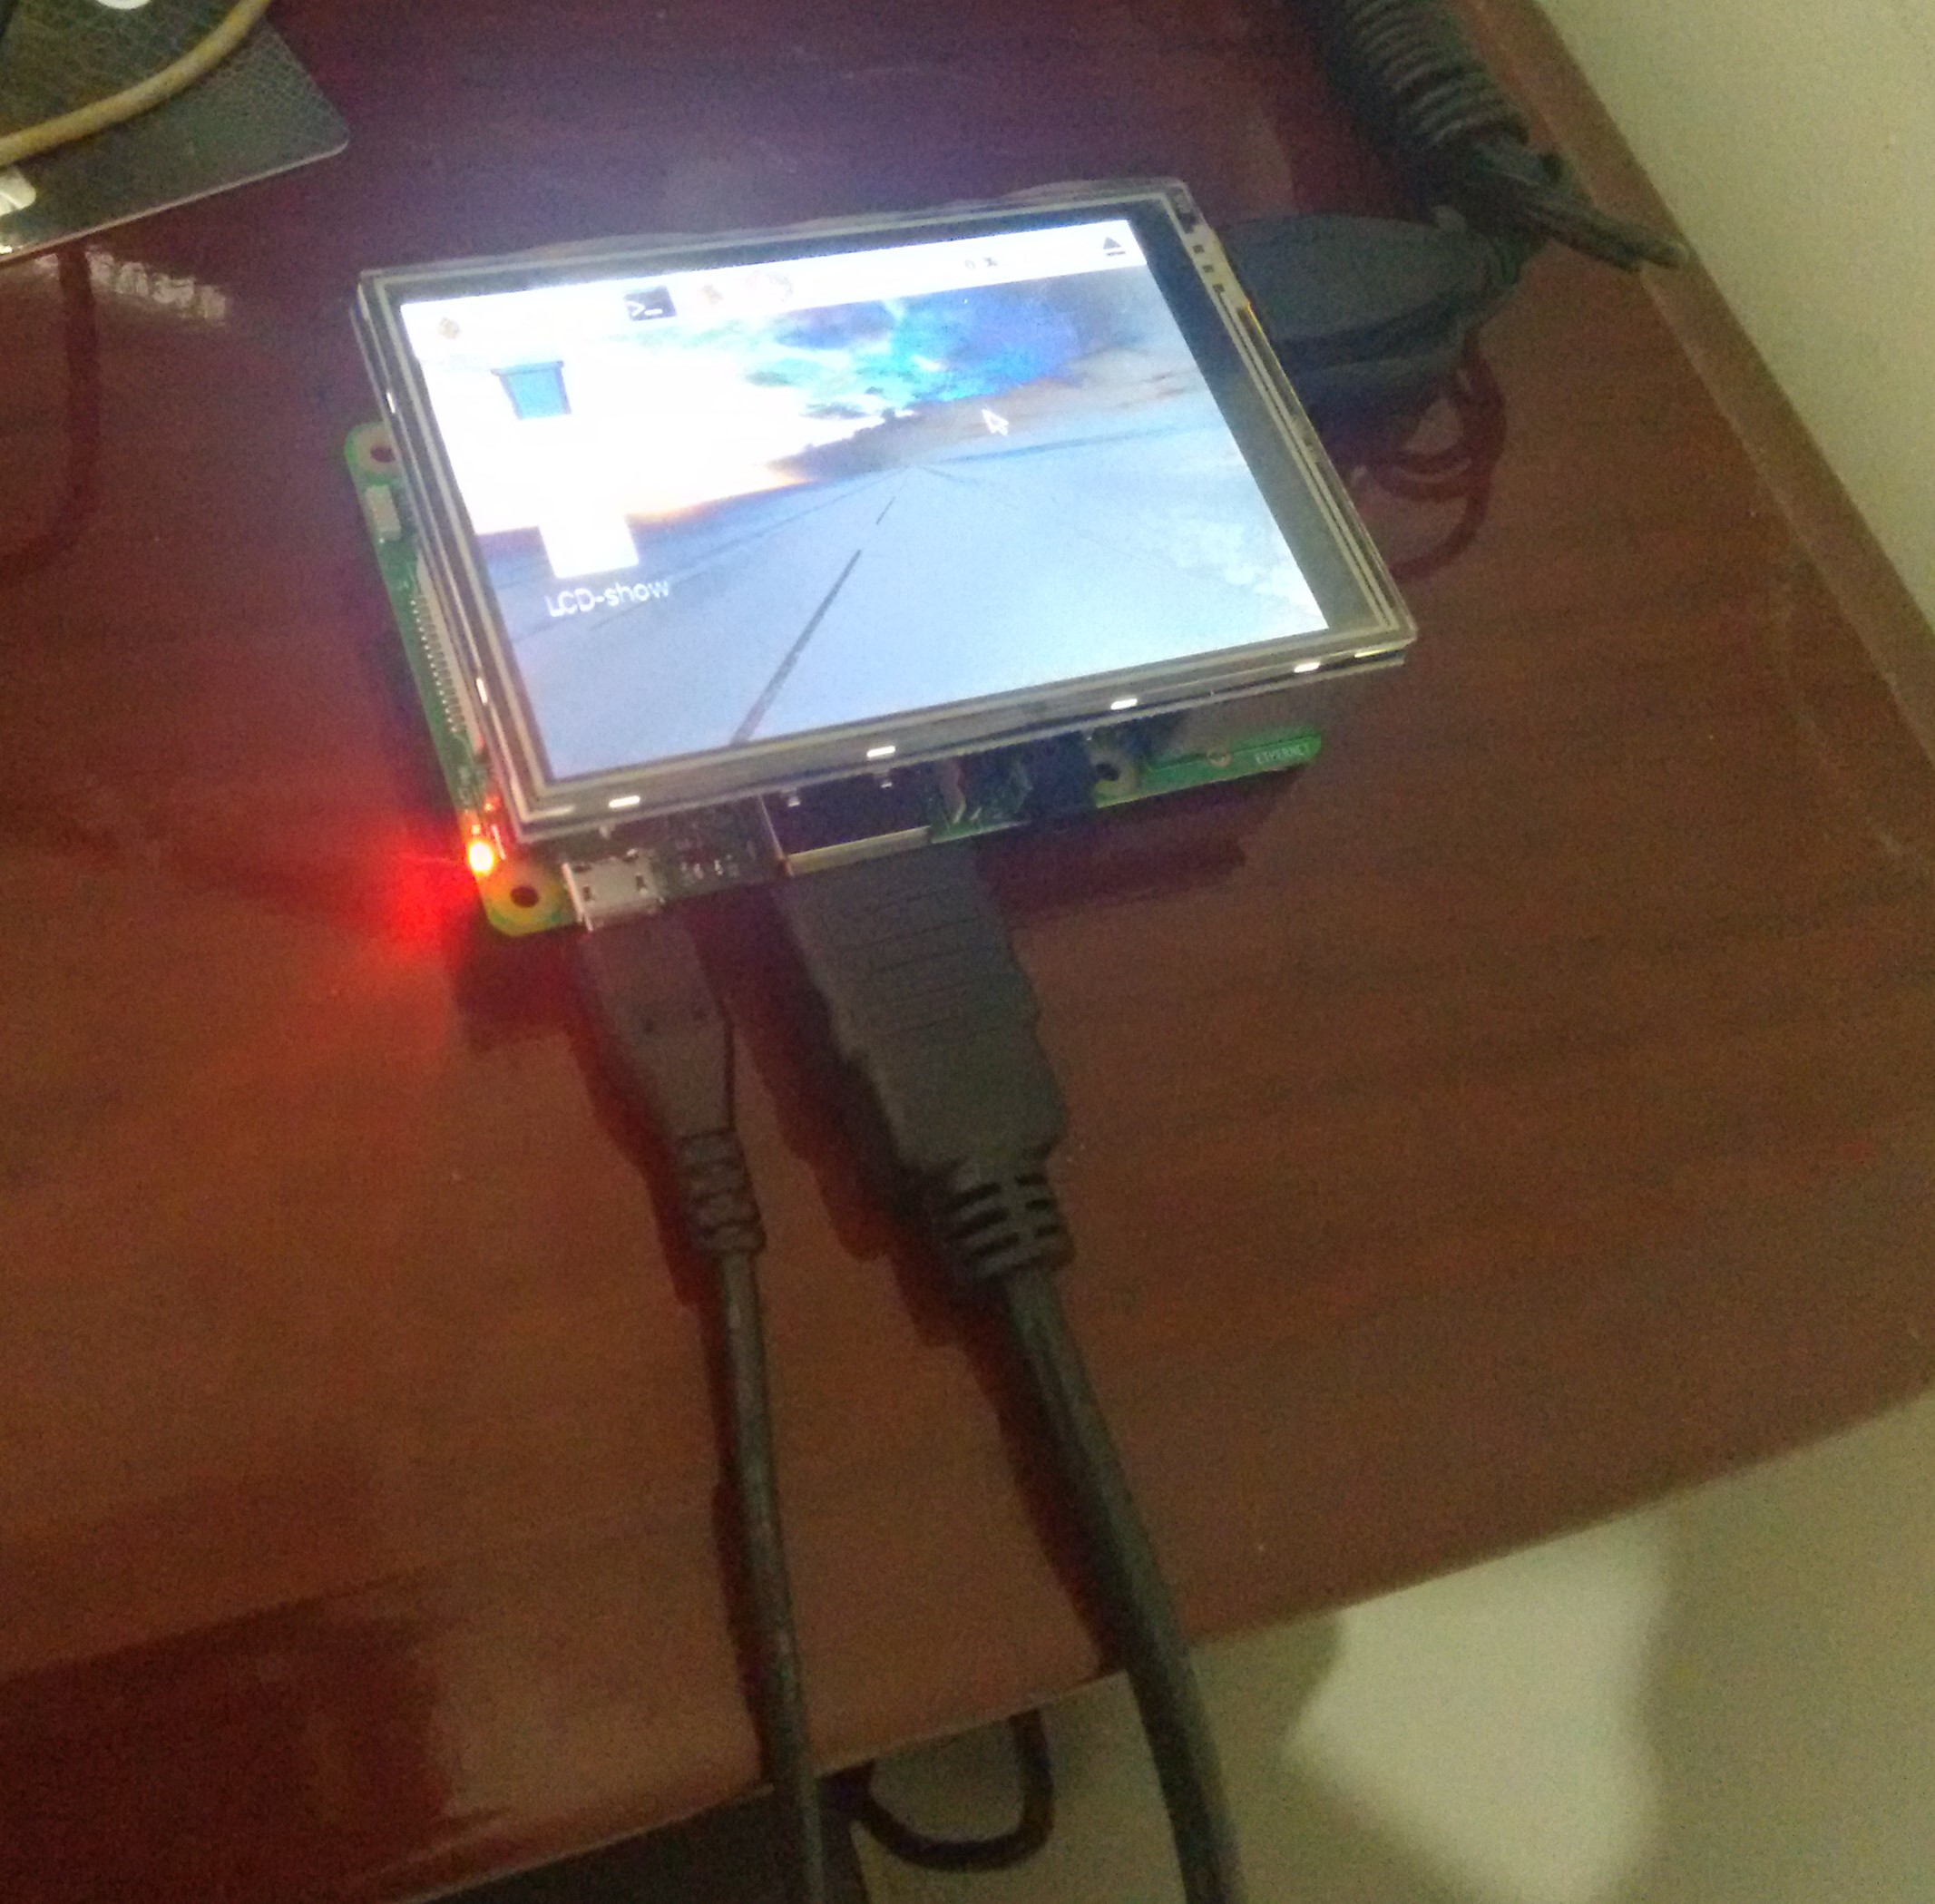
I installed it, double checked everything, and… I could not get the screen to work! Even after following a lot of tutorials, downloading a bunch of drivers, or doing a full reinstall of Raspbian. The problem was: the image appears on the HDMI, but not on the 3′ LCD. After some research, I discovered that this problem is reported all over the internet as a problem of the latest drivers (even the officials) and the Raspbian installed with NOOBS.
Again, more research, until I found swkim01’s repository on GitHub, with a tutorial with all information I needed. Even the touchscreen calibration and screen orientation steps (which I suggest you read). On the first try, the LCD started working!
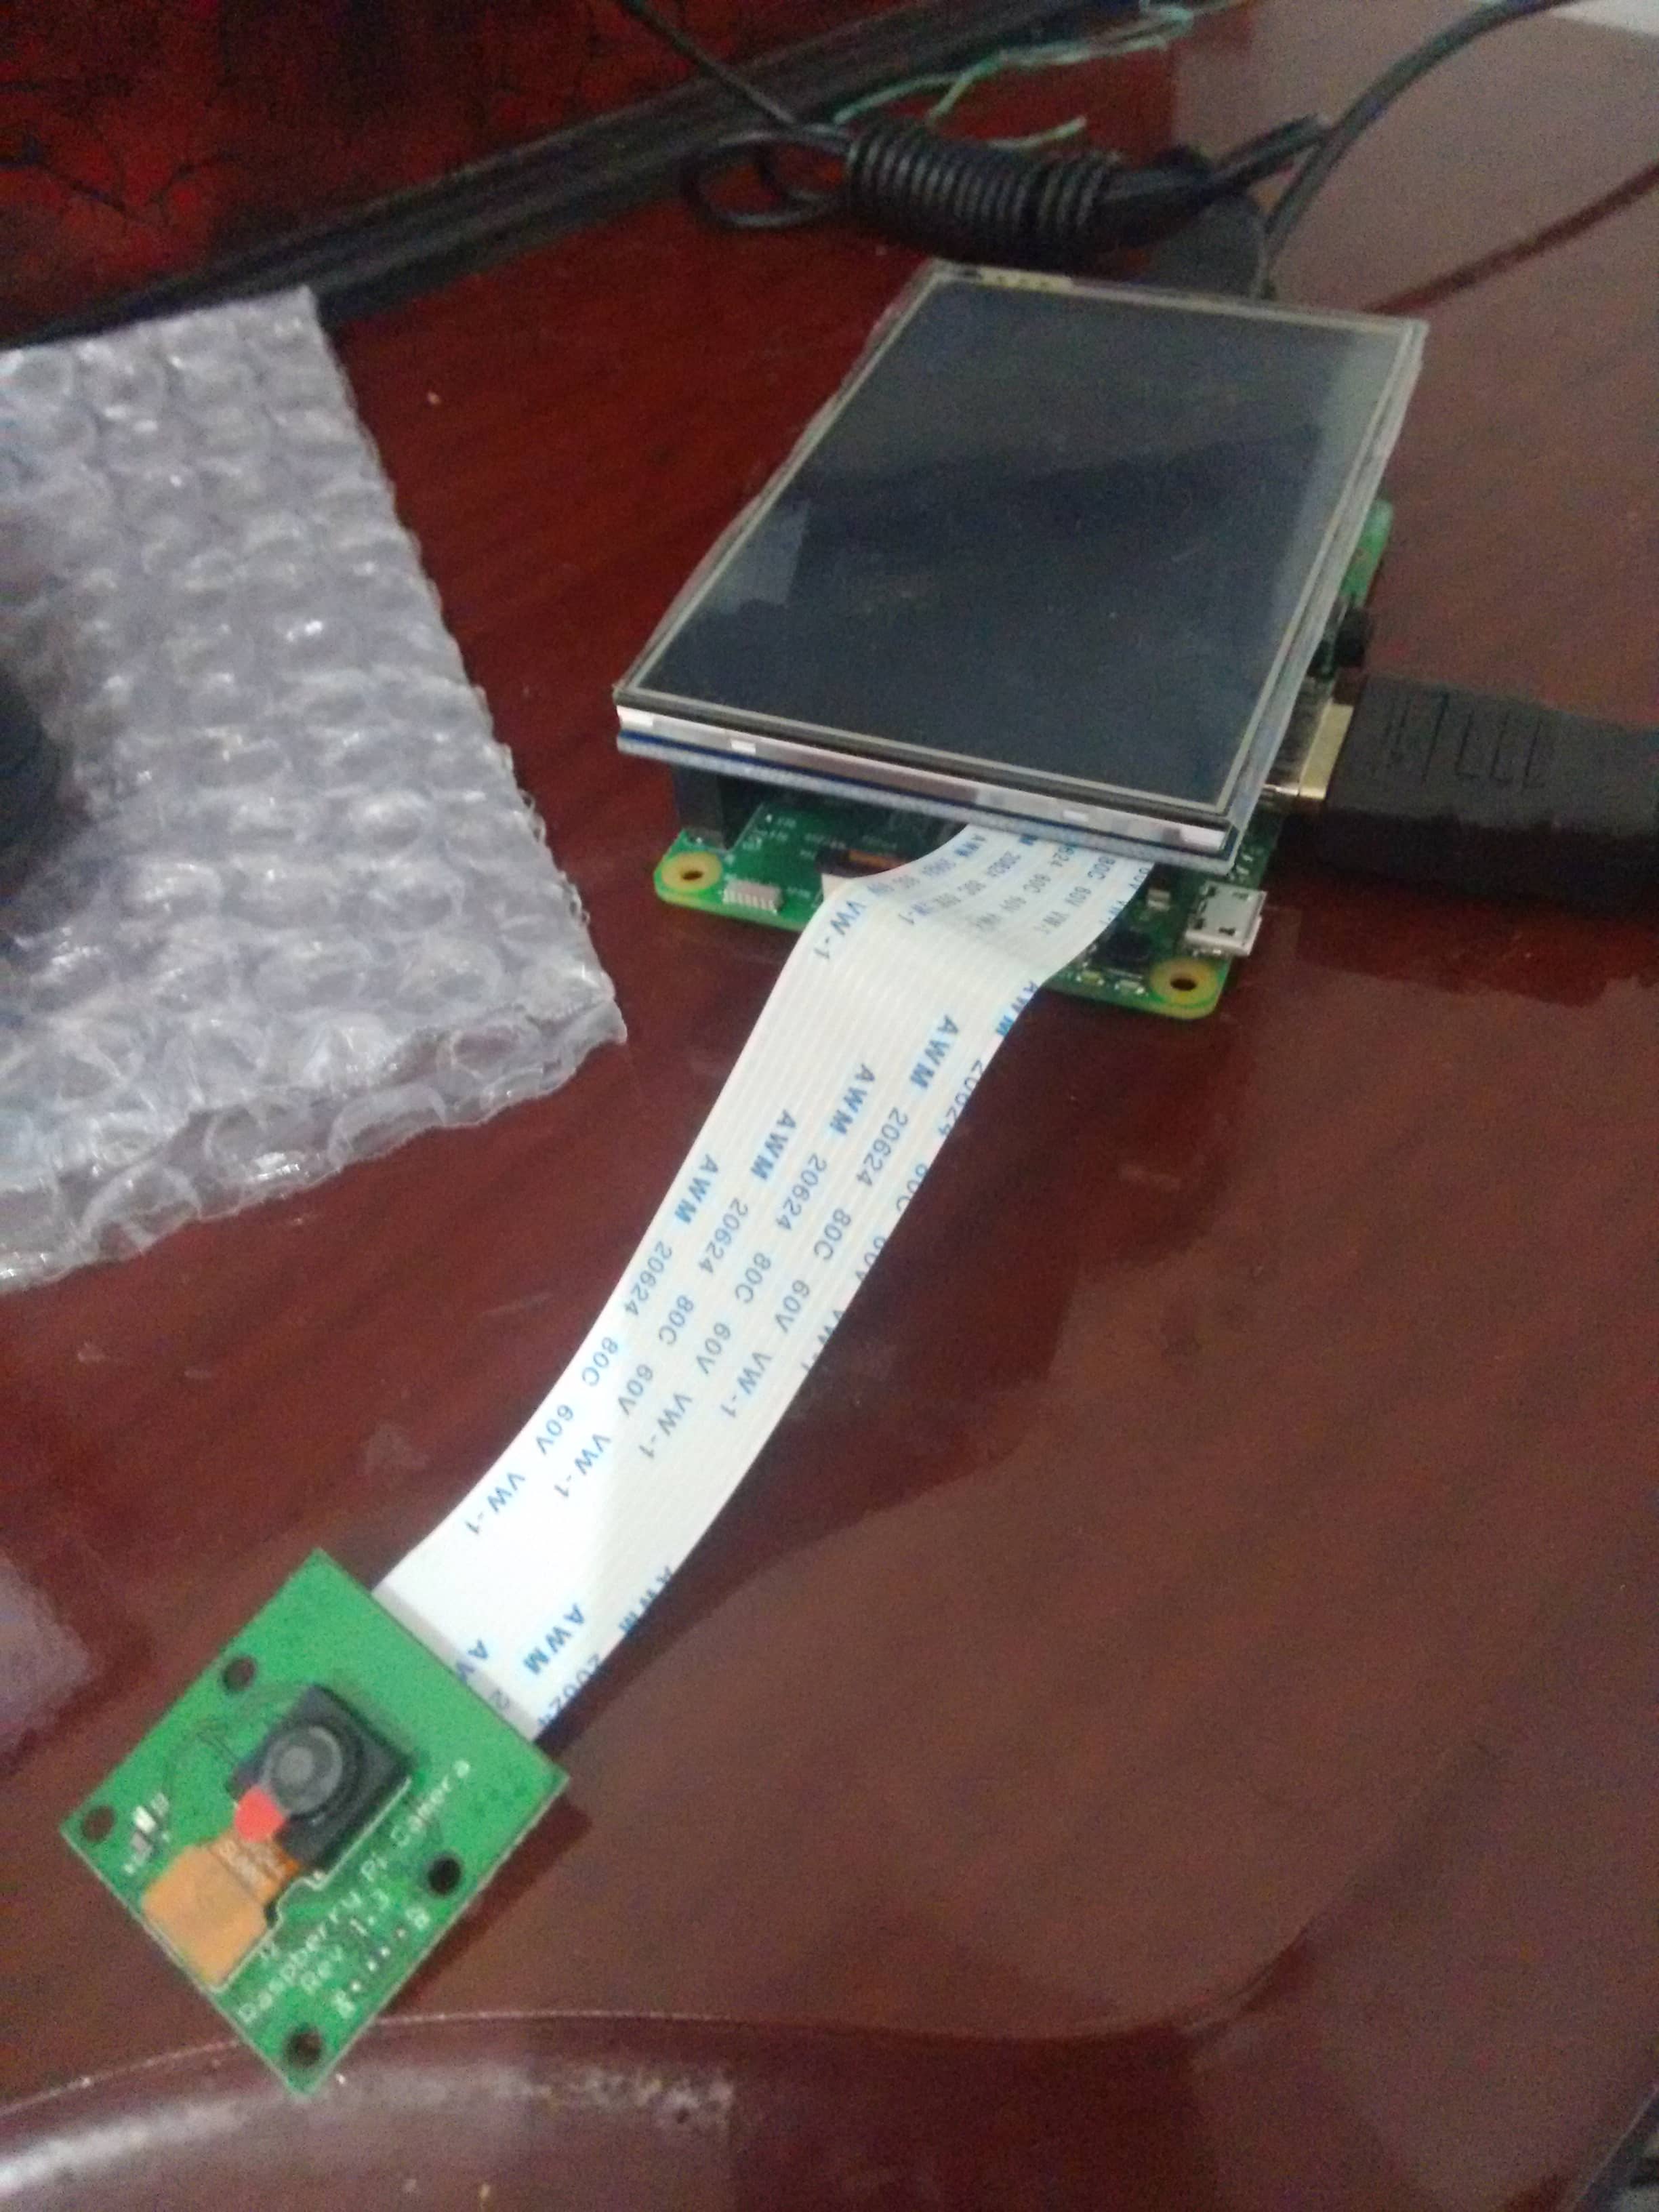
Now, after all this struggle, the next step: Installing the Camera. Well, and it was pretty easy actually. It turns out that Raspberry Pi 3 has a dedicated camera port, as shown in Figure 3:
So, no much secret here, I plugged in the camera cable, turned the Raspberry on and then enabled it by using the
raspi-config
command.
Camera module support
The support is excellent! There are built-in commands to take pictures, like
raspistill -o image.jpg
. The only problem I found here, is that there is no support for the camera’s preview on the Touchscreen (the image appears on the HDMI though). The Picamera FAQ reports this:
The camera’s preview system directly overlays the Pi’s output on the HDMI or composite video ports. At this time, it will not operate with GPIO-driven displays like the PiTFT.
I found workarounds like raspi2fb or Adafruit Touchscreen Camera project. But after a little analysis, I decided that the camera preview is not so necessary for what I’m going to do.
Final adjustments and conclusion
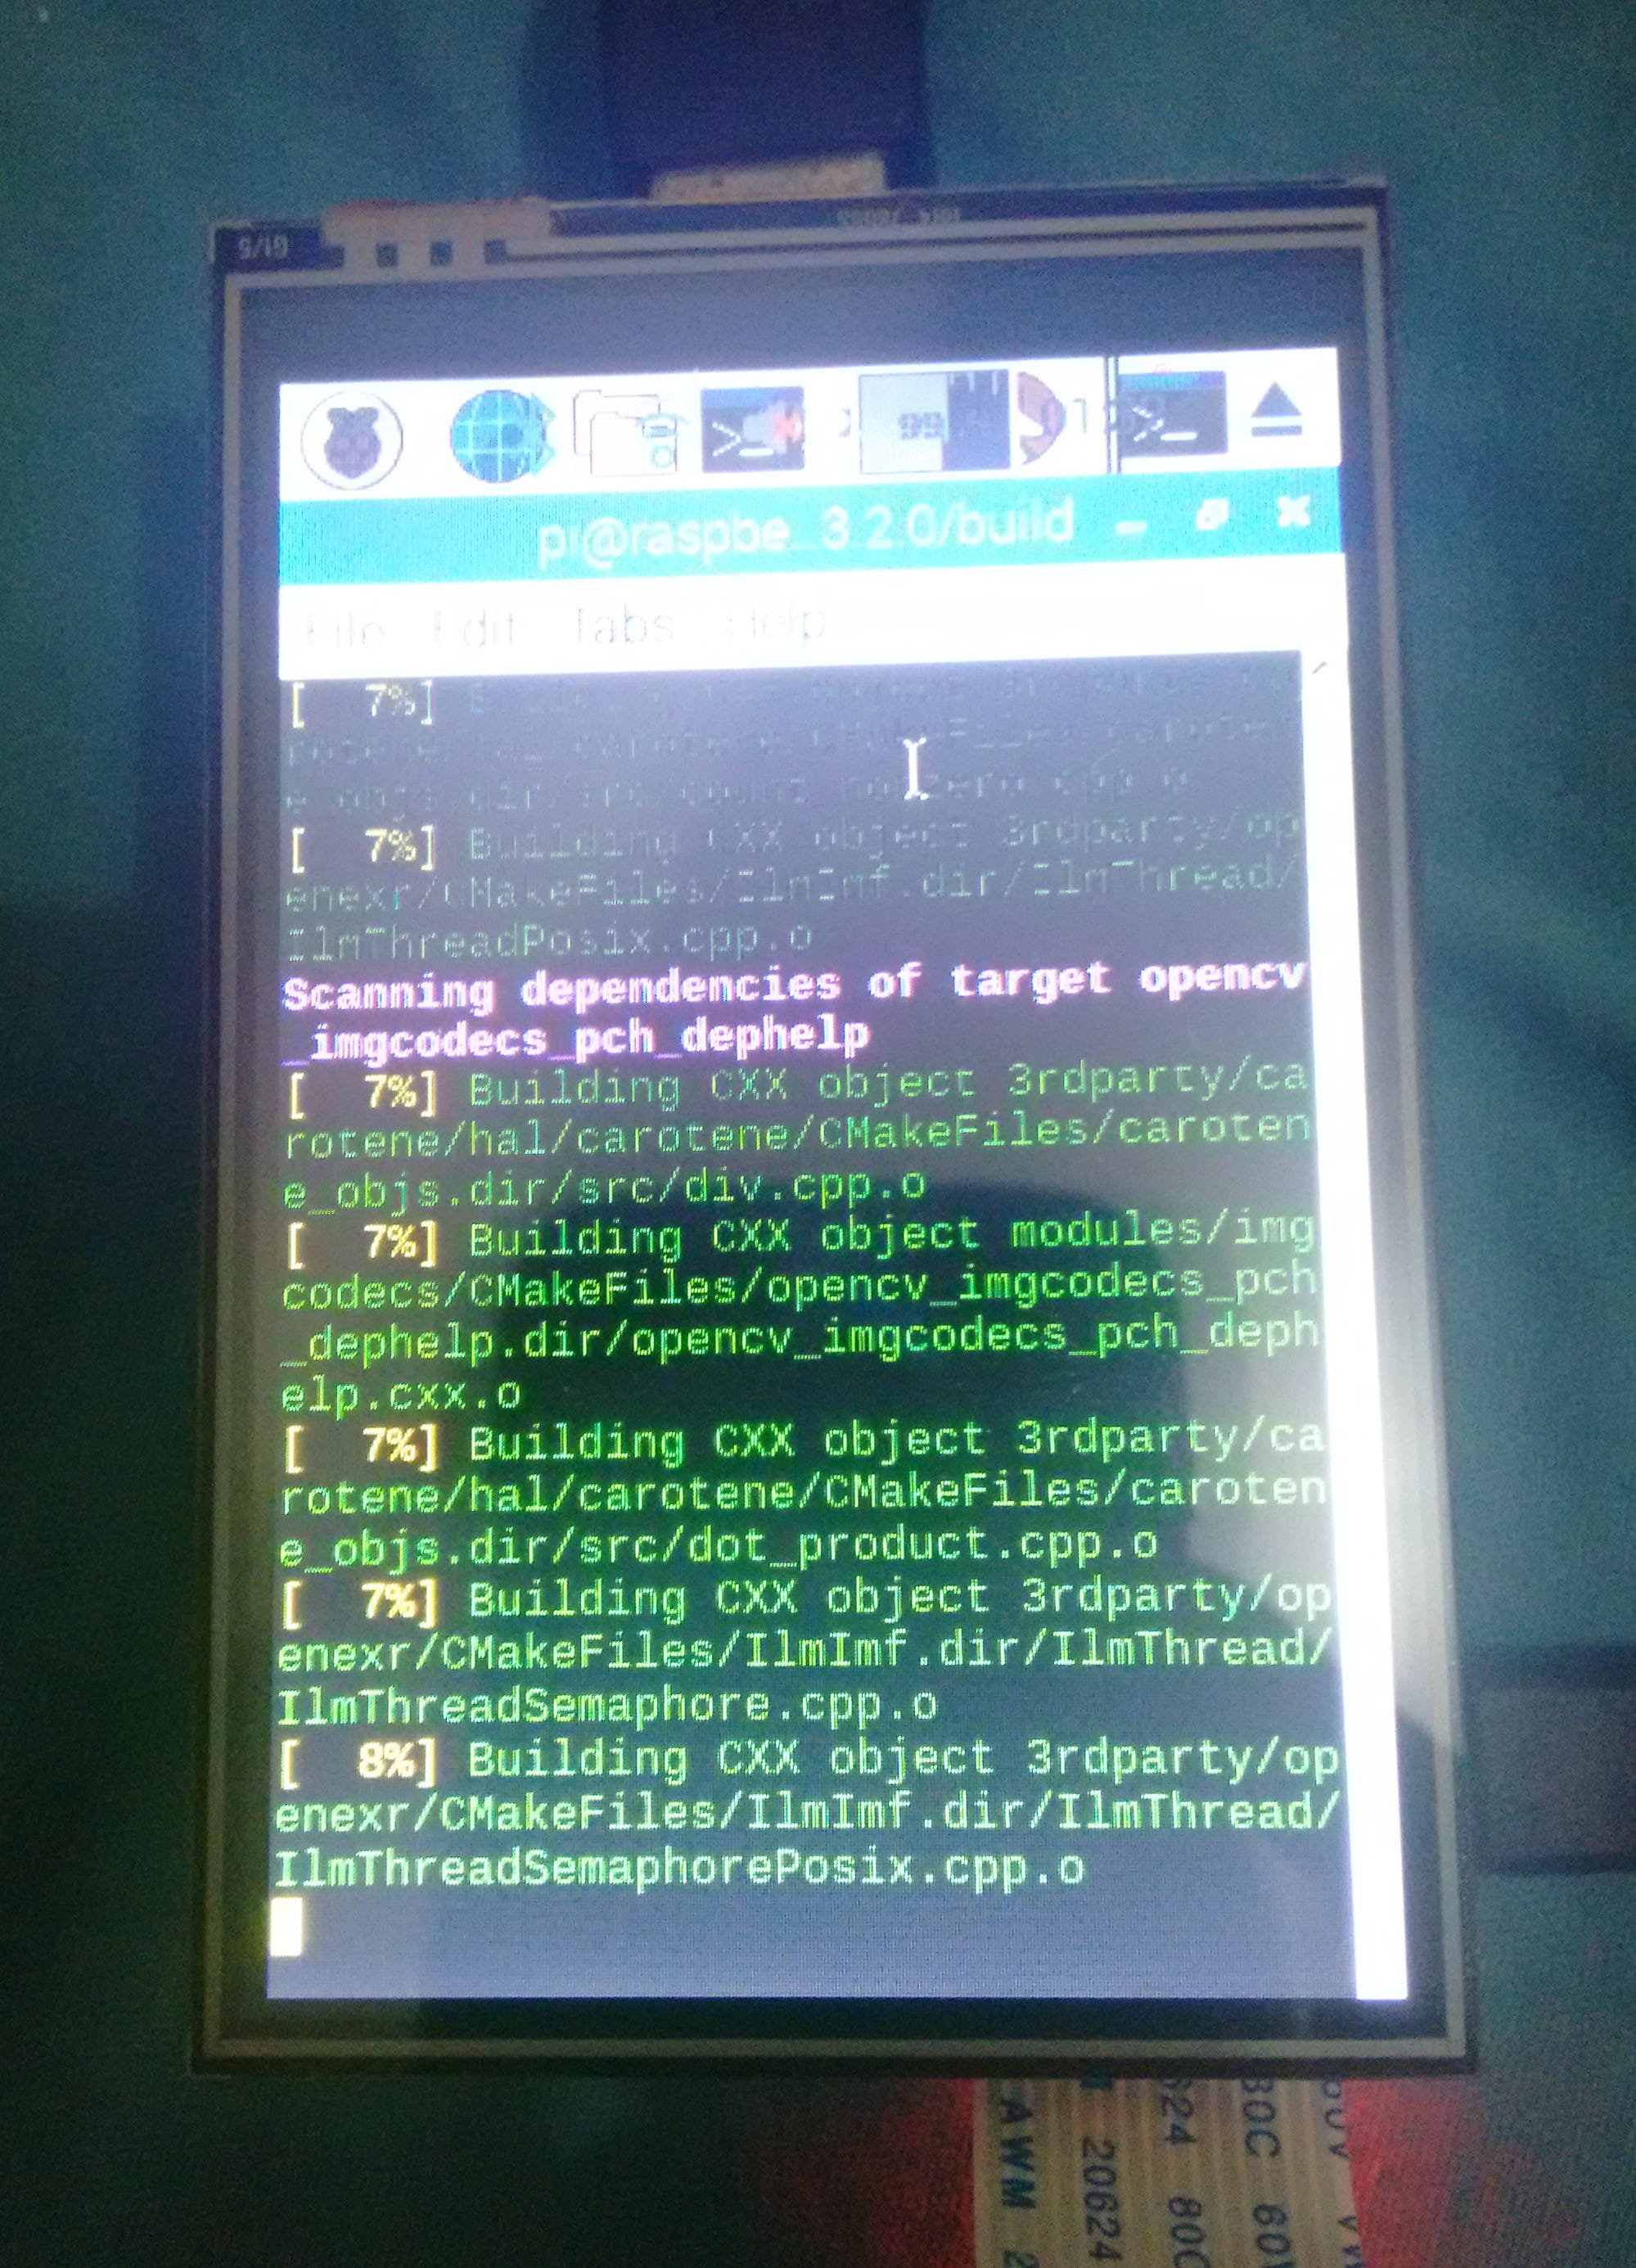
I need to run C++ code implemented with OpenCV, so the library must be used. Since Raspbian is a Linux Distro, I used my tutorial for installing OpenCV on Linux, and everything worked as expected. I also had to compile all my code locally because of the Raspberry Pi’s ARM architecture (g++ handled everything).
Now, I can capture the image and then call an algorithm to process it instantly! I tested everything and the Raspberry Pi was capable of running my heavyweight image processing tasks in an acceptable amount of time.
Well, that concludes my little weekend journey! It was a lot of fun and thanks to what seems to be a great community, I have done the work on time, with everything working correctly.
*(Prof. Dr. Alexandre César Rodrigues Silva provided all this equipment to be used in the Signal Processing and Digital Systems Lab)


No Comment! Be the first one.